
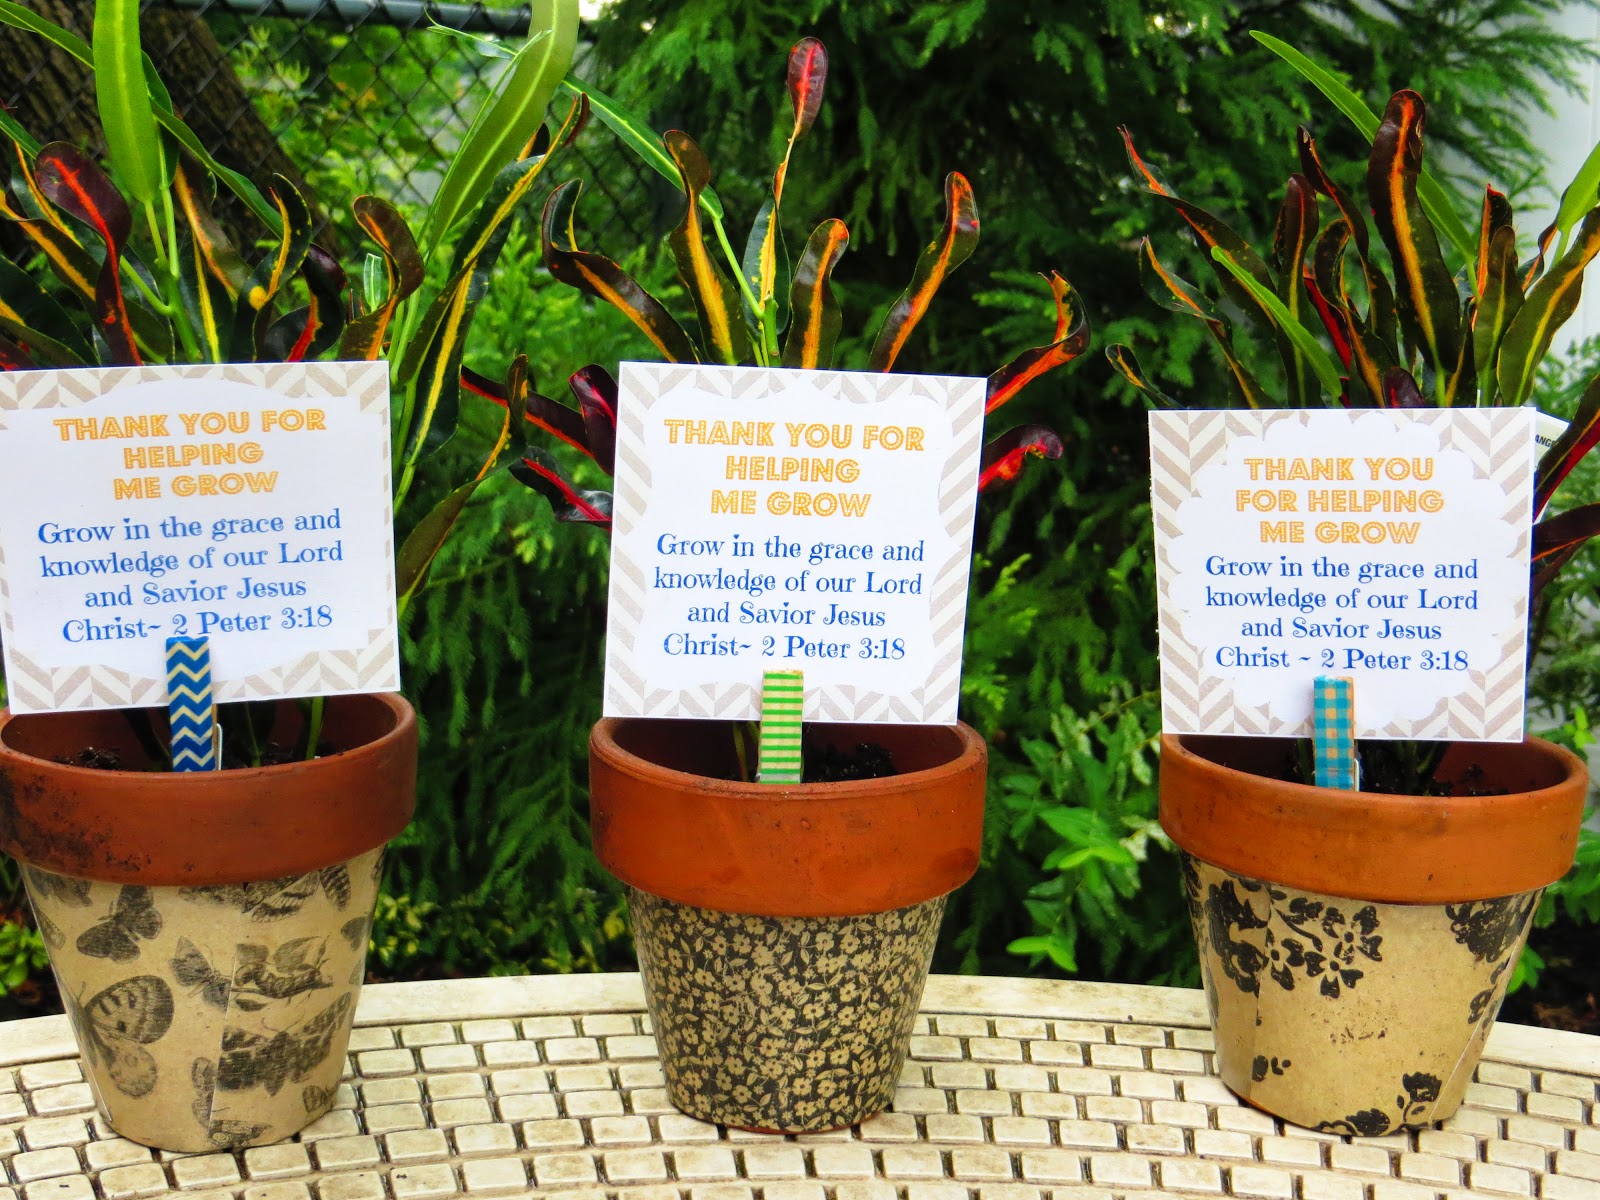
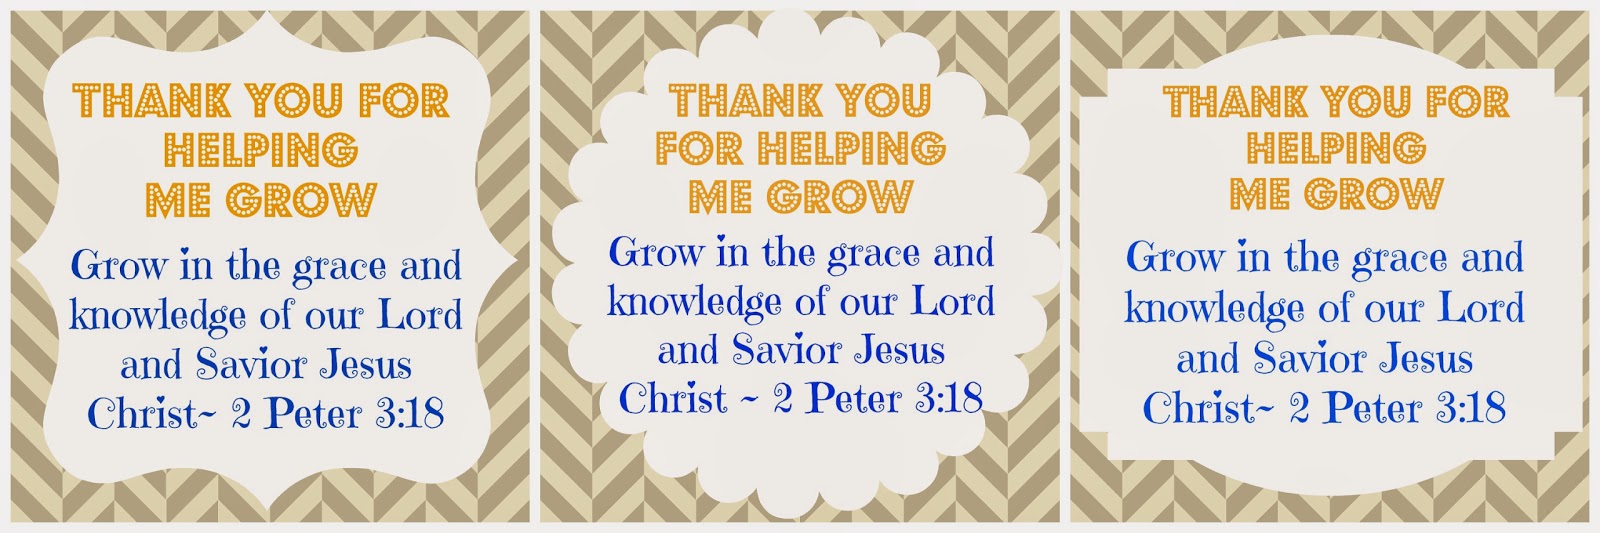
Thank You For Helping Me Grow {Free Printable}


 To make the planter tags use our free printable and cut each square. We did print these on cardstock paper.Take the clothes pins and apply crafting tap to the outside. Place the planter tag in the teeth of the clothes pin and push the other side of the clothes pin into your dirt to stand up.

Dream Big Printable
This might
seem a little backwards with timing but I still wanted to share this
creative project with you. My son's daycare operates off of a regular
school schedule since they are also a pre-school and kindergarten facility. During the summer they have a summer camp program but it's all the same teachers and classrooms as his regular daycare. As summer is winding down, this is the last week of camp. After
Labor Day he will transition over into the one year old room with all
new teachers. My little man is just growing up way too fast!
Since
this is his last week with his current teachers we wanted to thank them
for all of the love and support they have provided him. Making the
decision to go back to work and put my little guy in daycare was not
easy for me. Knowing he is in good hands when I am not there was one of
the most important parts. He loves his teachers and really seems to
enjoy being there. I wanted to share our project in hopes you will be inspired for the upcoming school year or to save the idea for the end of the year. We have also made the planter tags printable for you!
Here's what you need:
Terracotta Pots
Scrap paper
Clothes Pins
Mod Podge
Sponge
Craft Tape
Plants
Taking the scrap paper cut squares about 3 inches long (depending on the size of your pots). You need to cut the squares because the paper will not just wrap around the pot. Apply mod podge to the back on the squares and place each section around the pot until your pot is fully covered. Apply a coating of mod podge over the outside of the scrap paper to secure and seal it to the pot.
Dream Big Printable
Starting a new adventure leaves so many open ended questions filled with both excitement and uncertainties. One of our brother's recently graduated from college and decided to make a move half way across the country to accept a position and start his career in Chicago. Although we miss him very much, we are so happy and excited for him to start this next chapter in his life. When someone makes a move and now has no family around or an established support system just yet, it is important to let them know how much they are loved and that you are thinking of them. We decided to put a little care package together for him and include some family pictures and designed a subway art for him (which we are also making a printable for you :)
Whether you have a family member or close friend that is making a move, starting college, or embarking on a new life adventure, remember to let them know you care.


Wine Bottle Newspaper Wrapping
With so much information readily available
to us through technology, newspapers seem to be a publication that is
slowly taking a backseat. Our dad still enjoys getting the paper and we
rifle through the coupons for anything that looks like a good deal, but
mostly it's glanced at and then off to be recycled. We decided we would
grab a few sections and do our own recycling. We first got this idea a
few months back when we had a few family members celebrating multiple
birthday's around the same time. Those decorative wine bags can be pricy
and just handing someone a bottle of wine (although no one would really
refuse it) just doesn't have much of that gift sentiment to us.
So here's a creative wrapping idea for
your next wine bottle gift. We used an article from the newspaper that
was published on the date of their birthday. We stuck to the comic
section, home and leisure, sports,
and entertainment. We then wrapped the bottle with the paper and added a
decorative bow. Not only did we recycle the paper but now they have a
section from the paper that is dated on their birthday.


DIY Father's Day Ideas
We first came across this idea from Create.Craft.Love. My husband works in an office all day and I thought this would be a perfect gift for him to use and also have pictures of him and our little man sitting on his desk.

Here’s what you need:
Wood block
Sandpaper
Drill
1/2 inch drill bit
Paint or Stain
Photos of Dad and Kiddo
Scissors
Mod Podge
Sponge brush
Measure your block and then using a saw cut to measure. It
came out to be 4x4x3 ¾. My husband supervised this but had no clue what I
needed the block for.

Measure the width of the block so that when you drill for the pen holes they are symmetrical.

Using a drill take a 1/2 inch drill bit to drill 5 holes going about 3/4 of the way down the block.


Once you are done with the sawing and drilling, take your sandpaper and lightly sand over the whole block or concentrate on areas that need extra smoothing. A finer grit sandpaper is best to start out with.


Instead of staining the wood I decided to paint it black. My husband already has a nice black frame for his desk and I thought this would just compliment it better. I painted the whole block and then let it dry. I did go back and give it a second coat.

Once the block was fully dried, I cut the pictures to fit on each side and applied Mod Podge to the back of each picture. I let that dry for about 25-30 minutes and then coated the whole block with Mod Podge.


I'm Nuts About You Dad-Father's Day Treats
Our family is big on nuts! They are a great snack for your drawer at work or to add to your favorite yogurt or ice cream. This great printable came from Design Dinning Diapers and we decided to put our own twist on it.

Here's what you need:
Mixed Nuts
Mason Jar
Brown Paper Bag
Scissors
Glue


Take your print out and glue onto the front of the paper bag cut out. Fill with nuts and enjoy!
DIY Mother's Day Ideas
This Mother's Day takes on a whole new meaning for us. As a first time Mom and first time Aunt we feel excited and privileged to celebrate this day. Although, everyone knows that mom should be appreciated everyday :) Whether you are a biological mom, adopted mom, aunt, sister, guardian, or important female influence in someones life, it's nice to be recognized.

Fill planter with fun garden accessories, gloves, garden tools, seeds, and flowers.

Use small
brown bags and fill with either already made tea bags or fresh tea leaves
Use crafting
twine or ribbon to decorate the outside
Fold over the top
of the bag and fasten shut with a decorative embellishment

Art
Elephants are unique creatures and happen to be my favorite, so I really enjoy painting them. This is was created from oil paint and if you're wondering about the color choice, there really is no rhyme or reason. Art isn't suppose to make sense, it's just something you do.

Because babies bring joy to everyone:)


Valentine's Ideas
It's almost that time of year again. Valentine's Day is right around the corner. Some may gush over this holiday and love all that it brings and others could careless about this time of year. If we had to categorize ourselves we would fall somewhere in the middle. None of the less, we do enjoy the giving aspect of it. Whether it be for friends, family members or significant other. But when we refer to the giving aspect of it, we don't mean, hey go out and buy me a new Marc Jacobs bag (although who would turn that down?). We mean lets make something fun with simple ingredients or things we already have around the house. Sometimes its the little things with a bit of effort that really do go a long way. Enjoy these homemade treats and don't forget to be extra sweet on Valentine's Day :)
Mason Jar-I'm Nuts Over You
Honey, Will You Be My Valentine?

Fill mason jar with mixed nuts and tie a bow around the top.
Cut out a small piece of stationary to indicate your greeting.
Add extra stickers or embellishments to personalize it.


Supplies:
Mason jar
Mixed nuts
Ribbon
Honey
Crinkle cut scissors
Stationary
Marshmallow Bouquet


Melt chocolate on stove top or microwave depending on what type of chocolate you use.

Put marshmallows on the skewers.

Dip and rotate in melted chocolate.


Add another marshmallow and repeat dipping in chocolate or leave plain.

Add additional marshmallow dipped in chocolate and add sprinkles.

Build a bouquet and enjoy!
Supplies:
Marshmallows
Skewers or lollipop sticks (depending on what height you want)
Chocolate
Sprinkles
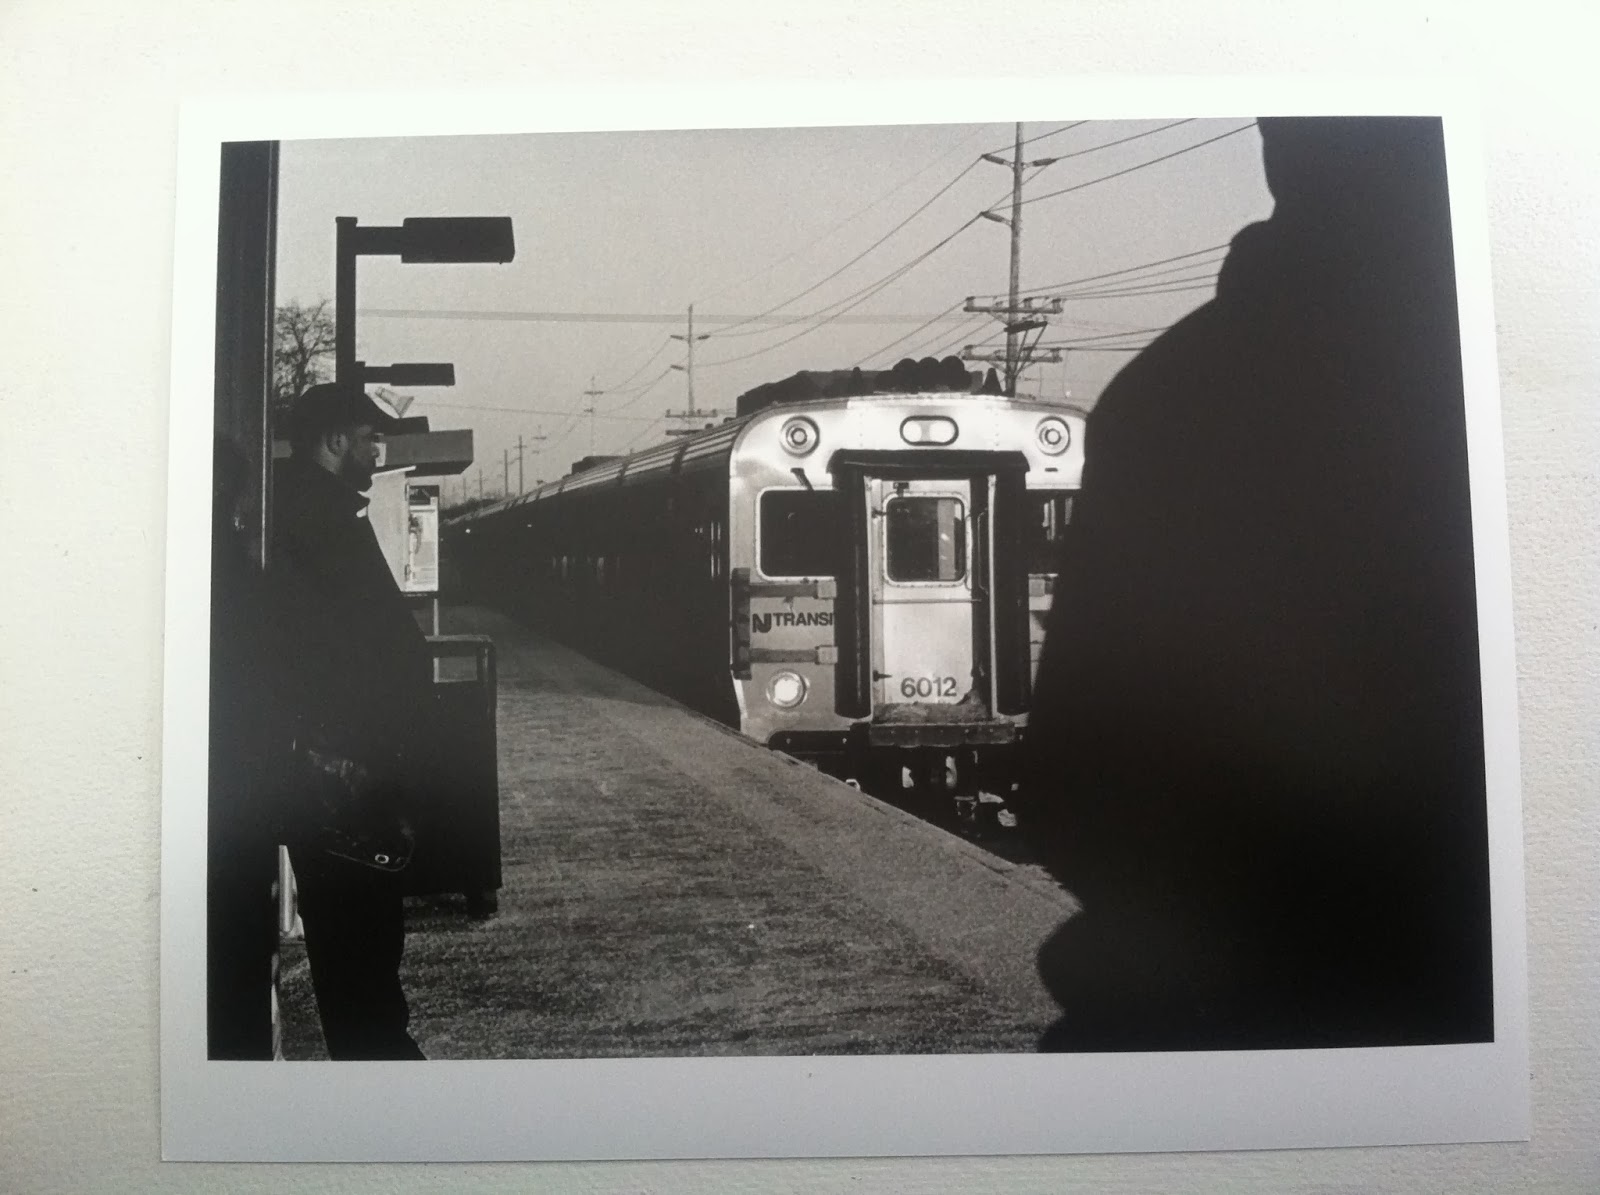
Photography Journey
I've always enjoyed capturing pictures and looking back at life's moments that are able to stand still. It's such a true statement that a picture is worth a thousand words. I have recently enrolled in a photography class where I am learning new techniques and usage of lighting. I am carrying around a vintage 35mm camera and letting the images speak for themselves. I have the opportunity to shoot in black and white and develop my own pictures in a dark room. Here are some of my recent shots. Like everything, there is always room for improvement.
I would love to hear your tips or pointers for capturing amazing pictures.


This one was taken with a digital camera on a trip to nyc.
No comments:
Post a Comment